


Qualification & Prerequisites
Before beginning troubleshooting, ensure you meet the following requirements:
- Basic understanding of RF principles and signal transmission
- Access to appropriate testing equipment (signal source, measuring instrument)
- Personal protective equipment if working with high-power systems
- Technical documentation for the specific attenuator model
- Proper electrostatic discharge (ESD) protection if handling internal components
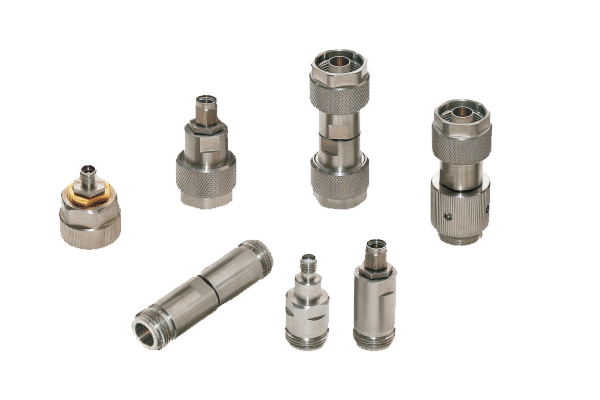
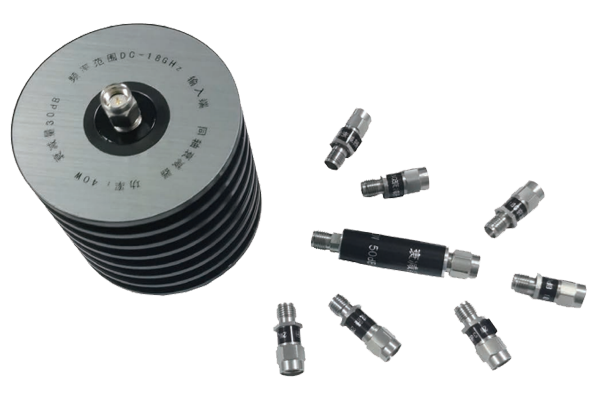
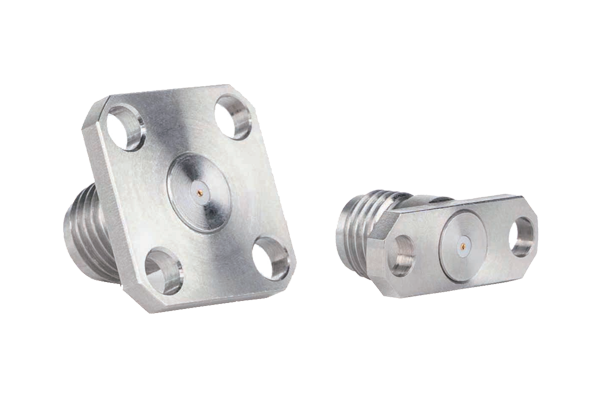
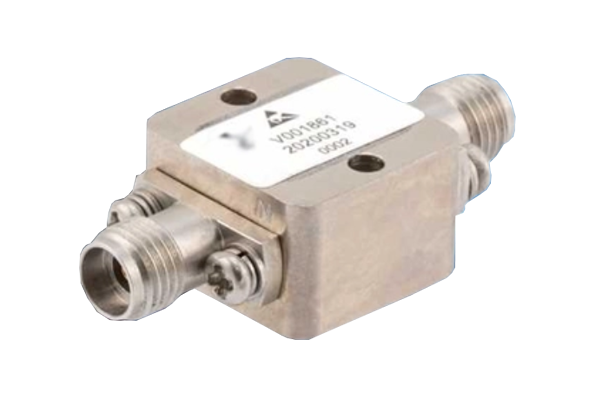
1. Visual Inspection
Carefully inspect the fixed attenuator housing for damage, deformation, or burn marks. Check the connectors for looseness, oxidation, or bent pins.
2. Connection Wiring
Confirm that the fixed attenuator is securely connected to the front-end and back-end devices, and check whether the cables are damaged or deteriorating.
3. Signal Transmission Test
Use a signal source and measuring instrument to establish a test circuit and monitor signal changes at the fixed attenuator's input and output terminals.
4. Environmental Factors
Confirm that the temperature and humidity in the fixed attenuator's operating environment are within the specified range, and check for strong electromagnetic interference sources nearby.
5. Internal Inspection
If the above troubleshooting does not reveal the problem, disassemble the fixed attenuator and inspect the internal components.