


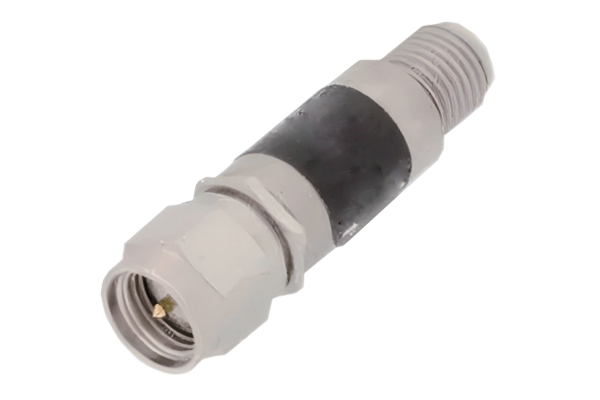


PIN Diode Switch Installation Precautions
1. Preparation before installation
Environmental inspection: Ensure that the installation environment is clean and free of excessive dust and moisture. Dust may adhere to the switch pins and affect the electrical connection; moisture may cause a short circuit and damage the switch. For example, when installing in a workshop with high humidity, you can turn on the dehumidification equipment first.
Tool preparation: Prepare precise welding tools, such as a constant temperature soldering iron, and control the temperature within a suitable range to avoid high temperature damage to the PIN Diode Switch; auxiliary tools such as tweezers and wire cutters are also required for operations such as pin shaping and wire cutting.
Component inspection: Carefully check the appearance of the PIN Diode Switch. The pins should not be bent or oxidized, and the body should not be damaged. Use a multimeter to measure its forward and reverse resistance to determine whether there are problems such as short circuits and open circuits to ensure that the component quality is qualified.
2. Installation process operation
Pin processing: Use tweezers to shape the PIN Diode Switch pins into a suitable angle for easy insertion into the circuit board pads. The pins should not be bent excessively to prevent damage to the internal structure.
Welding operation: Apply an appropriate amount of flux evenly on the pins and pads to improve the welding effect. Align the switch pin with the pad, heat the junction of the pin and the pad with the soldering iron tip, wait for the solder to melt, add an appropriate amount of solder wire, and make the solder evenly wrap the pin and the pad. The welding time should not be too long, and should be controlled within 3-5 seconds to avoid overheating and damage to the components.
Fixed installation: If plug-in installation is adopted, make sure that the switch is stable on the circuit board after welding to prevent loosening; if it is SMD installation, you can first apply solder paste on the pad, use tweezers to accurately place the switch on the pad, and complete the welding through reflow soldering. The welding process must strictly follow the reflow soldering temperature curve.
3. Post-installation inspection
Electrical performance test: Use a multimeter to measure the resistance between the PIN Diode Switch pins again, compare it with the normal parameters, and check whether the welding is good, whether there is cold soldering or short circuit.
Appearance inspection: Check whether the welding point is smooth and full, and whether there is solder splashing or bridging. The switch body should not be discolored or deformed due to heat to ensure correct installation.