

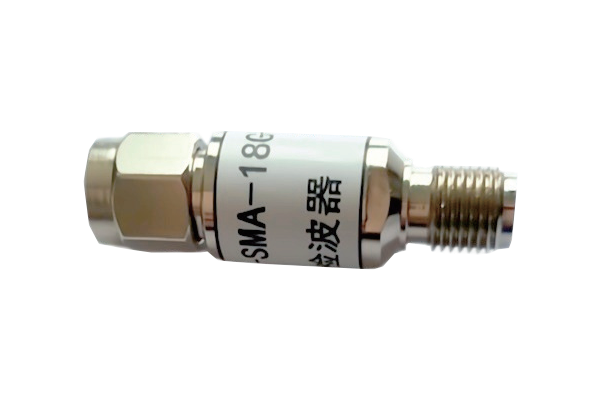

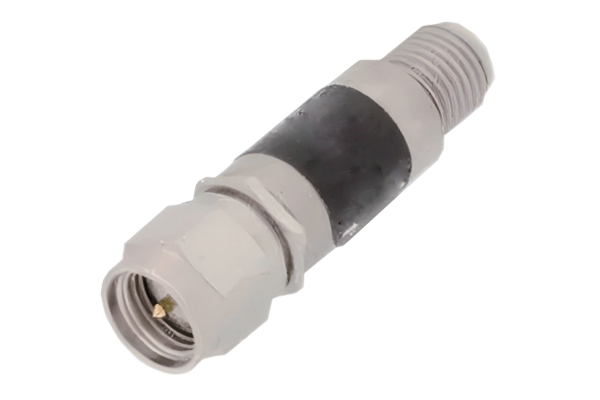
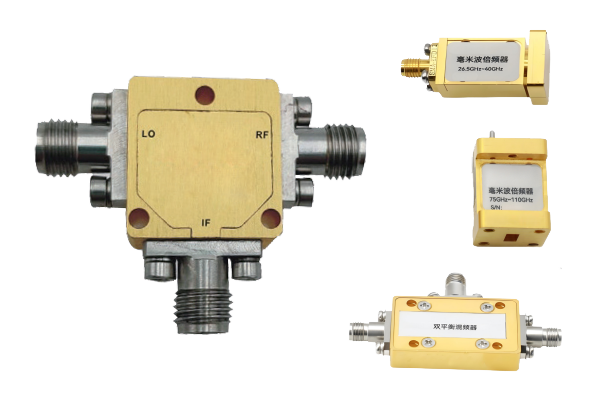
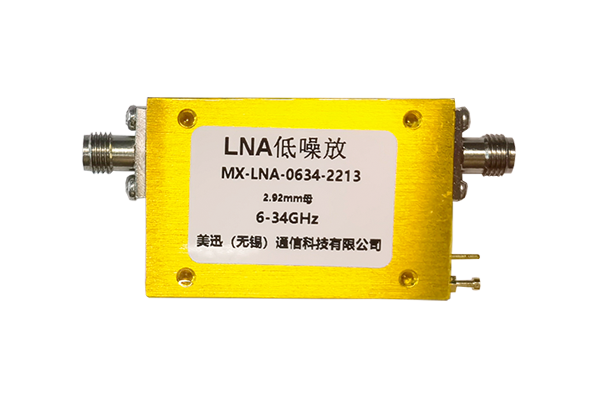
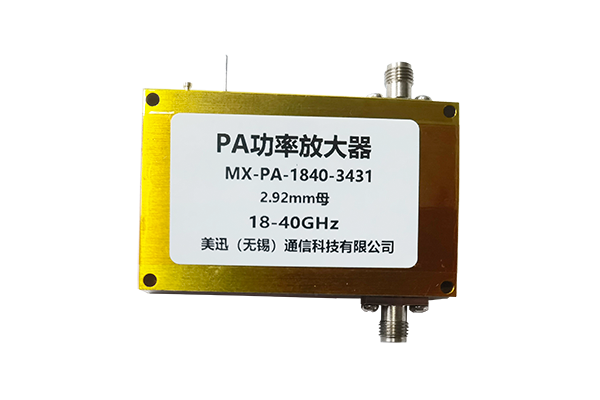
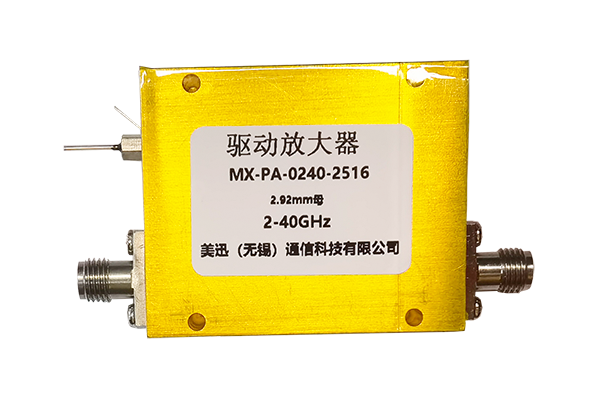


Complementary Functionality
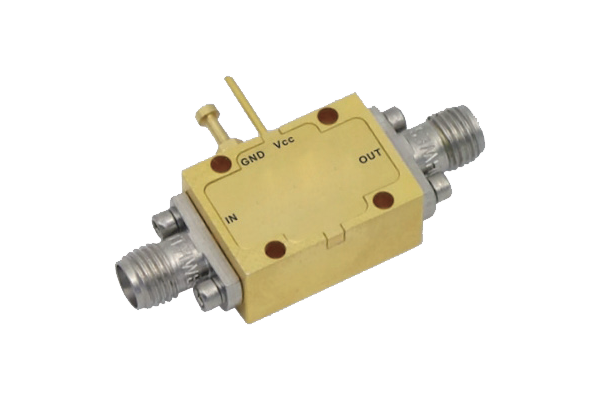
When using a fixed attenuator with an amplifier, determine the connection order based on signal processing requirements.
If the input signal is too strong and may overload the amplifier, connect a fixed attenuator before the amplifier to protect the amplifier by pre-attenuating the signal strength.
If the amplifier's output signal exceeds the tolerance of the downstream equipment, configure a fixed attenuator after the amplifier to ensure signal compatibility with subsequent equipment.
Signal Transmission Link Planning
When building a signal link, ensure the connection between the fixed attenuator and the amplifier is short and stable to minimize additional signal loss or interference.
The line interface must match the impedance characteristics of the two to prevent signal reflections caused by impedance mismatch, which can affect the overall link transmission efficiency and signal quality.
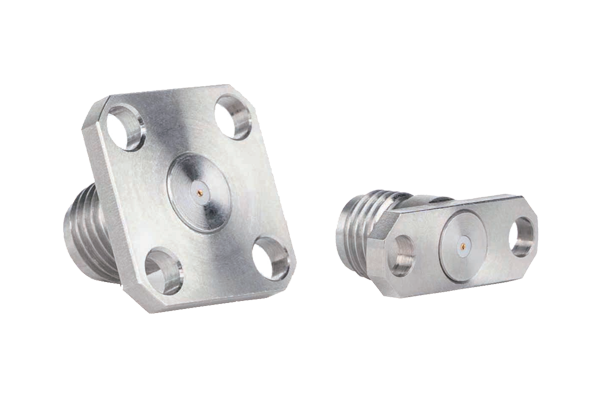
Impedance Matching Coordination
The fixed attenuator's impedance must be consistent with the amplifier's input and output impedances to ensure efficient signal energy transmission between them.
Impedance matching reduces signal reflection loss at the transition point, enabling the amplifier to receive signals stably while allowing the fixed attenuator to precisely adjust signal strength, ensuring stable link performance.
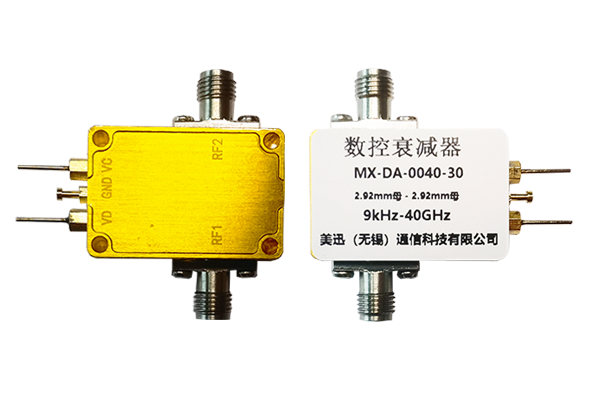
Performance Parameters Selection
Based on the amplifier's gain characteristics and signal processing requirements, select a fixed attenuator with appropriate attenuation to ensure the processed signal strength is within the ideal range.
The frequency response characteristics of both must also be considered to ensure stable performance of the fixed attenuator and amplifier across the operating frequency range to avoid signal distortion caused by parameter mismatch.
Collaborative Performance Debugging
After the connection is complete, the entire link needs to be tested. Use a signal measuring instrument to check the signal output of the fixed attenuator and amplifier.
Based on the test results, fine-tune the connection status or parameter configuration to ensure that the signal, after amplification and attenuation, meets the required strength while maintaining a good signal-to-noise ratio and waveform integrity.