

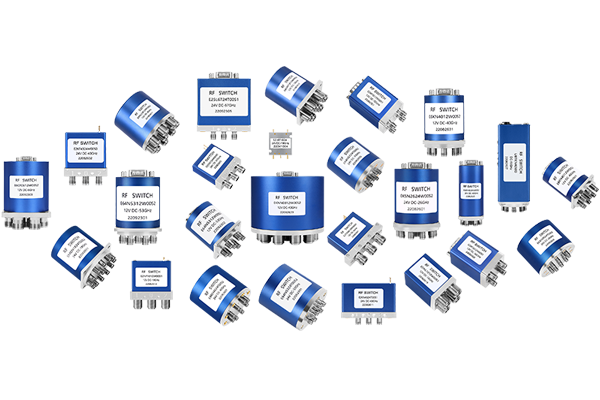


How to test the isolation of a coaxial switch
Coaxial Switch Isolation Testing Procedure
Testing the isolation of a coaxial switch is critical to ensure its ability to prevent unwanted signal leakage between ports. Here's a detailed guide on how to perform this test effectively, using standard equipment and procedures:
-
1. Prepare Testing Equipment
Gather the following tools:
- Vector Network Analyzer (VNA): Essential for measuring S-parameters (e.g., S21, S31) to quantify isolation.
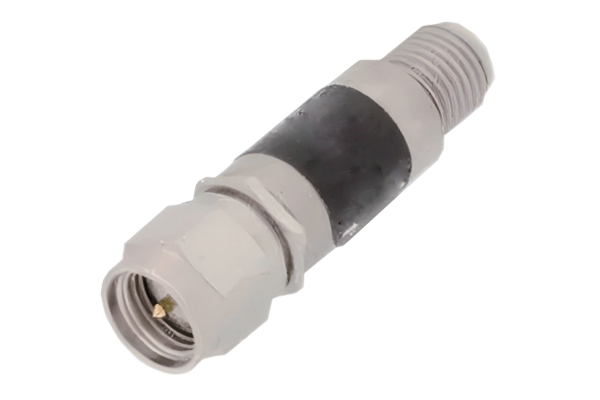
- Coaxial Cables: Low-loss, high-quality cables to connect the switch to the VNA.
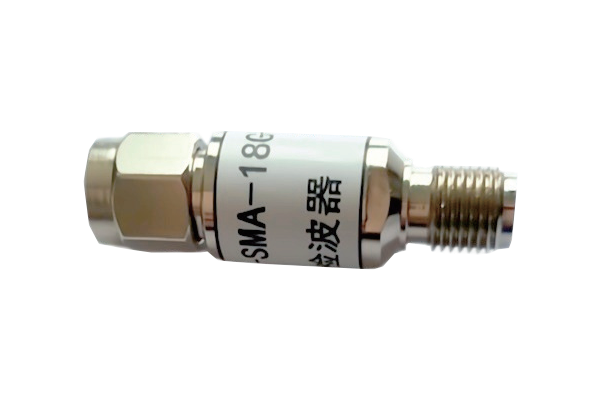
- Terminations: 50Ω matched loads to terminate unused ports and prevent reflections.
- Power Supply (if needed): For powered switches (e.g., PIN diode or relay-based designs).
-
2. Set Up the Test Configuration
Connect the Switch to the VNA:
- Attach the switch's input port (e.g., Port 1) to the VNA's Port 1.
- Connect the output port under test (e.g., Port 2) to the VNA's Port 2.
- Terminate all other unused ports with 50Ω loads to eliminate signal reflections.
Power the Switch (if required):
For active switches, apply the correct voltage to activate the desired switching state (e.g., select Port 1 to Port 2 connection).
-
3. Calibrate the VNA
Perform a full two-port calibration (e.g., SOLT: Short-Open-Load-Thru) at the target frequency range.
This removes errors from cables and connectors, ensuring accurate isolation measurements.
-
4. Measure Isolation (S-Parameters)
Isolation is typically represented by the insertion loss (S21) when the switch is in the OFF state (i.e., when the signal path is not selected). For example, to test isolation between Port 1 and Port 3:
- Select the Desired State: Ensure the switch is configured to route signals from Port 1 to a different port (e.g., Port 2), not Port 3.
- Run the Measurement:
On the VNA, set the frequency sweep to cover the switch's operational bandwidth (e.g., DC to 18 GHz).
Measure the S31 parameter (output from Port 3 when input is at Port 1).
The resulting value (in dB) represents the isolation: lower dB values indicate better isolation (e.g., -60 dB means only 0.001% of the signal leaks to Port 3).
-
5. Repeat for All Port Combinations
Test isolation between every pair of non-connected ports (e.g., Port 1 to Port 3, Port 2 to Port 4, etc.).
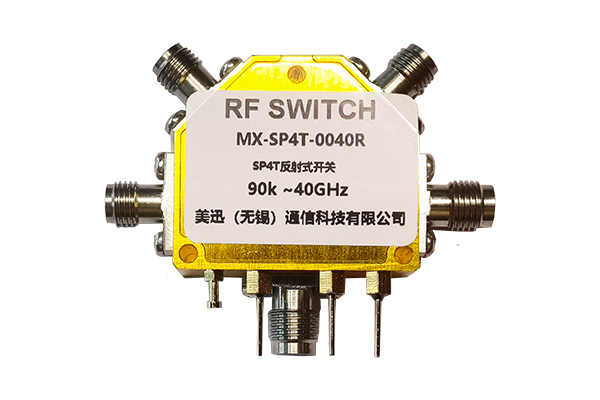
For multi-throw switches (e.g., SP4T), ensure each port is terminated when not in use to avoid cross-talk.
-
6. Analyze Results and Validate Standards
Compare measurements against the switch's datasheet specifications. For example, military-grade switches may require isolation >60 dB, while commercial switches might accept 30-50 dB.
Identify frequency ranges where isolation degrades (e.g., near resonance or due to mechanical wear in relay switches).
For pulsed or high-power applications, consider testing under dynamic load conditions to simulate real-world usage.
-
7. Troubleshooting Tips
High Leakage (Poor Isolation):
- Check for loose connections or damaged cables.
- Verify that terminations are properly seated and matched (50Ω).
- For relay switches, inspect contacts for oxidation or debris.
- For semiconductor switches (e.g., PIN diodes), ensure bias voltages are correct.