

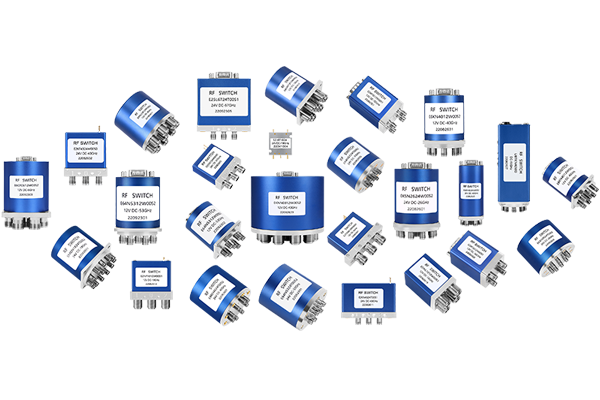
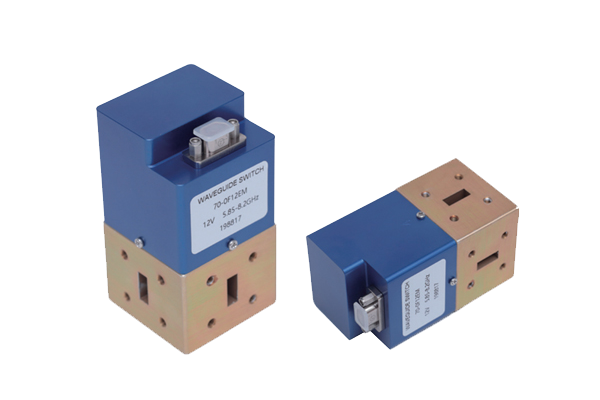


How to repair a faulty waveguide switch
Waveguide Switch Repair Guide
Systematic Troubleshooting Procedure
Initial Diagnostics
- Verify power connections and input signals
- Check for loose cables or incorrect voltage
- Test continuity with multimeter
- Inspect solenoids (automated) or levers (manual)
Physical Inspection
- Examine waveguide flanges for corrosion/warping
- Clean surfaces with isopropyl alcohol
- Check internal contacts for oxidation
- Lightly sand or replace damaged contacts
Caution
Never use abrasive cleaners on waveguide surfaces - microfiber cloths only
Performance Testing
- Use network analyzer for insertion loss/crosstalk
- Tighten or replace waveguide joints/gaskets
- Check motorized actuators and control boards
- Cross-reference part numbers with OEM specs
Environmental Damage Repair
- Seal cracks with dielectric sealant
- Replace heat-damaged insulation materials
- Check for water ingress in outdoor units
- Verify thermal expansion clearances
Verification
Always retest isolation and switching speed post-repair to ensure spec compliance
Final Considerations
- Always consult manufacturer's service manual
- Use proper torque values for flange bolts
- For complex microwave issues, contact certified technicians
- Maintain ESD protection during component replacement
This systematic approach ensures safe and effective waveguide switch repairs while maintaining optimal RF performance.