


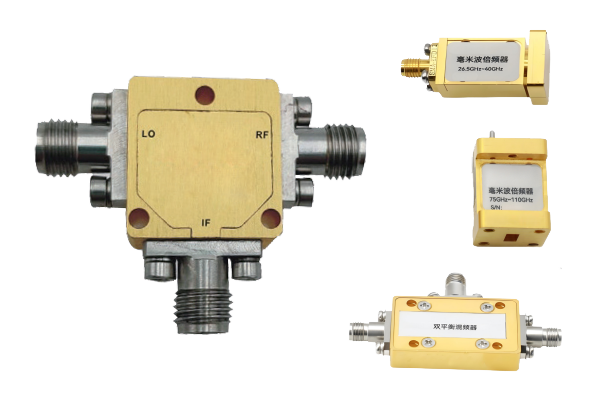


Repair Guide for Power Dividers
Safety First
Before starting any repair work, ensure safety by disconnecting the power divider from all connected circuits and equipment. This prevents electrical hazards and avoids further damage.
Inspection Process
1
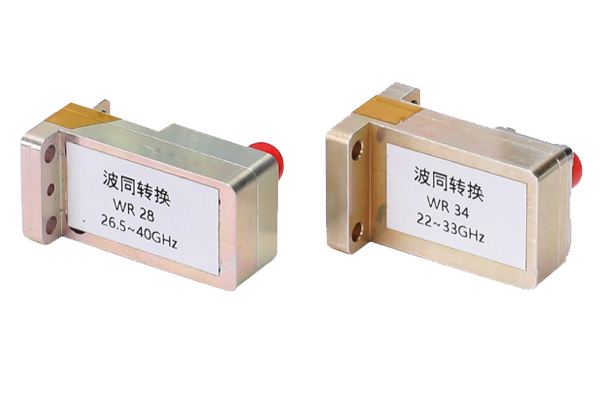
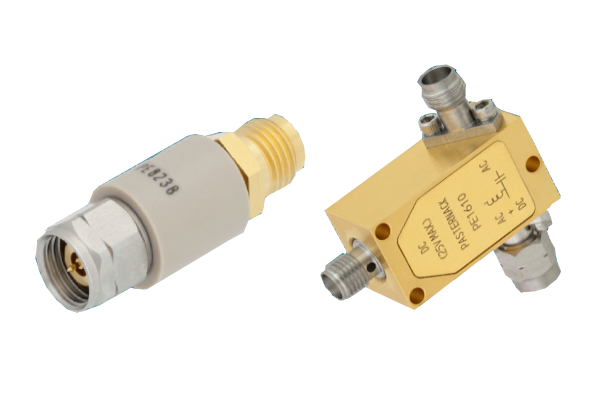
Visual Check: Examine the exterior for cracks, loose connections, or discoloration indicating overheating or physical damage.
2
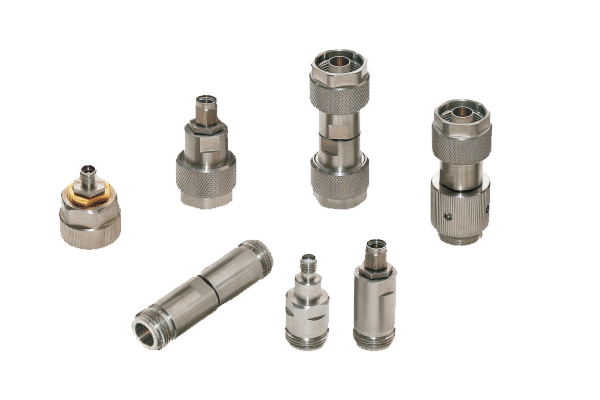
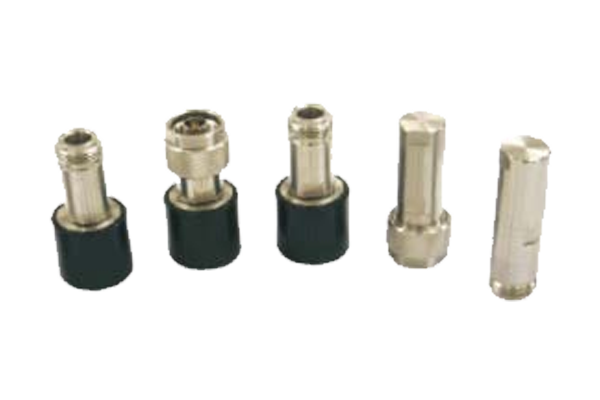
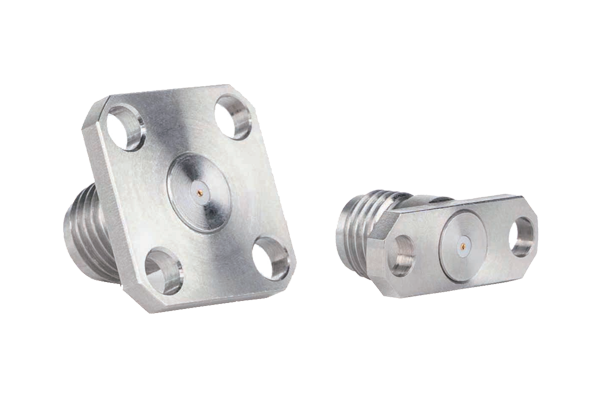
Port Examination: Check connecting ports for dust, dirt, or corrosion that could block signals or cause poor contact.
3
Cleaning: Use a soft, dry cloth to gently wipe ports and surfaces, removing any debris that might affect performance.
Diagnostic Testing
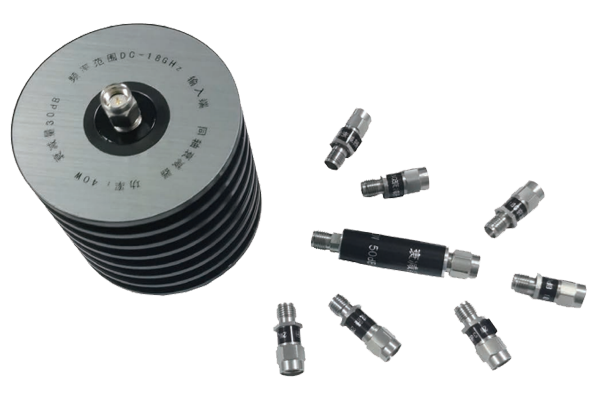
If visual inspection doesn't reveal the issue, test the power divider's functionality by reconnecting it to a simple circuit. Observe signal splitting and check for significant signal loss.
Important: Check cables and connectors used with the power divider as well, since faulty cables or loose connections are common causes of malfunctions.
Repair Approaches
- Minor Issues: For loose connections or dirty ports, cleaning and resecuring connections often resolves the problem.
- Corrosion: Use a mild cleaning agent suitable for electronic components, then dry thoroughly.
- Internal Damage: For serious faults, replace damaged parts or consult a professional technician, especially for power dividers with complex internal structures.
Post-Repair Verification
After completing repairs, test the power divider again to ensure proper operation. Check for stable signal distribution and no abnormal heating. Proper repair extends service life and ensures circuit stability.