


How to Determine Whether an RF Attenuator is Damaged
Attenuator Damage Diagnostic Protocol
Comprehensive guide for identifying attenuator malfunctions in RF systems
-
Observe Signal AbnormalitiesWhen an attenuator is damaged, noticeable abnormalities in signal transmission within the RF circuitry will occur. If the signal strength received by the downstream device far exceeds expectations, the attenuator's attenuation function may be malfunctioning. If the signal fluctuates or is completely interrupted, there may be poor contact between internal components. Additionally, signal distortion, increased noise, or decreased communication stability may indicate attenuator performance degradation. A comprehensive assessment should be made based on the overall system operating status.
-
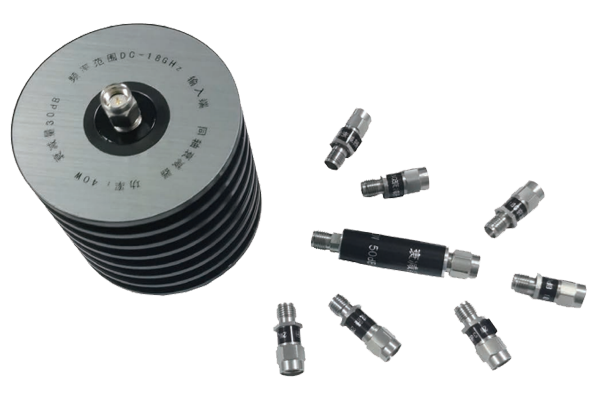
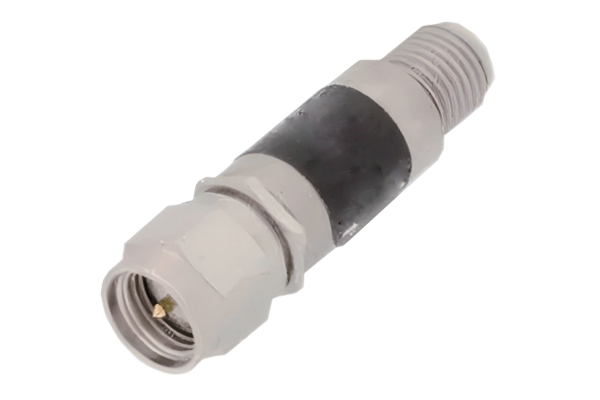
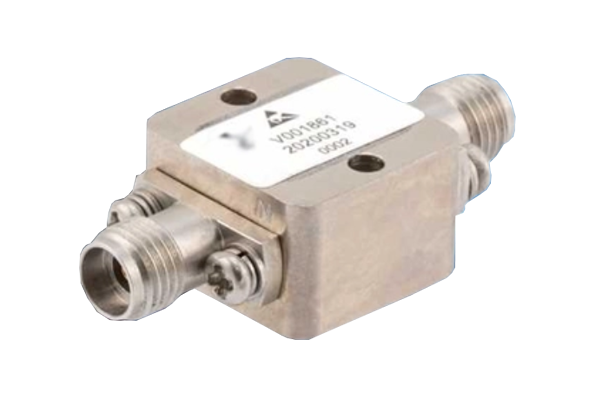
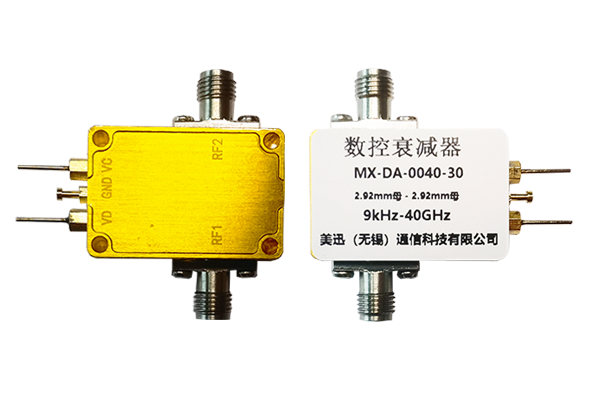
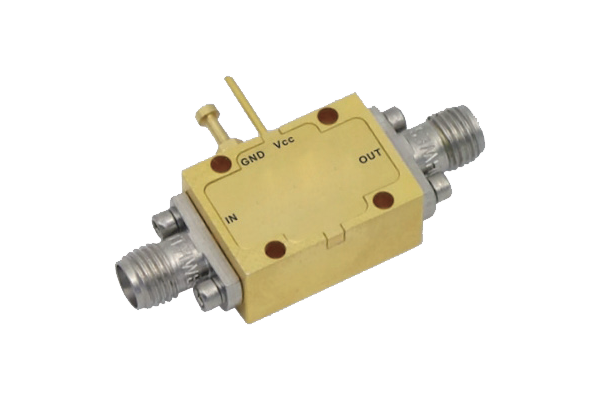
Physical InspectionVisually inspect the attenuator for signs of damage. Observe the outer casing for visible deformation, cracks, or burn marks, which may be caused by overload or high temperature. Check the connector for bent, broken, or blackened pins and threads. Mechanical damage to the connector can directly affect signal transmission. Also, check for loose heat sink components and excessive dust accumulation on the heat sink surface. Poor heat dissipation can indirectly damage the component.
-
Test Core Performance IndicatorsUse professional RF test equipment to test the attenuator's key performance indicators. Compare the actual attenuation to the nominal value to see if there is a significant deviation. If the deviation exceeds the normal range, the attenuation function is malfunctioning. Measure the impedance matching. If the reflection coefficient suddenly increases, it may be due to impedance mismatch caused by internal circuit damage. For variable attenuators, check whether the attenuation is continuous and stable during adjustment. Failure to adjust or jumps may indicate a faulty adjustment mechanism.
-
Troubleshoot Interface Connection IssuesAfter eliminating external connection issues, further confirm whether the attenuator itself is damaged. If the system returns to normal after replacing an attenuator of the same model, it can be preliminarily determined that the original attenuator has a problem. Check the tight connections between the attenuator and the upstream and downstream equipment. If the signal remains unstable after cleaning the interface, it may be due to loose solder joints or component failure within the attenuator. By replacing the attenuator and conducting a step-by-step troubleshooting, it is possible to accurately distinguish between damage to the attenuator itself and an external connection fault.