

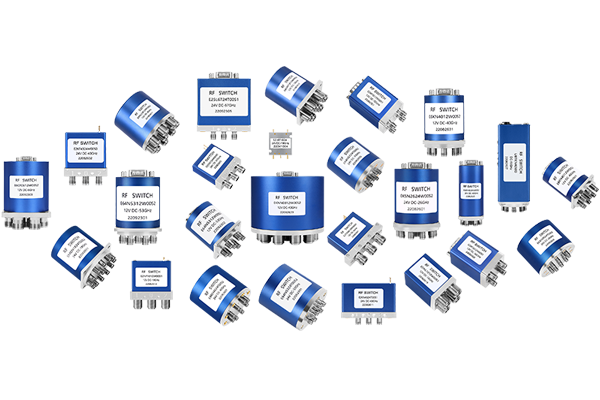
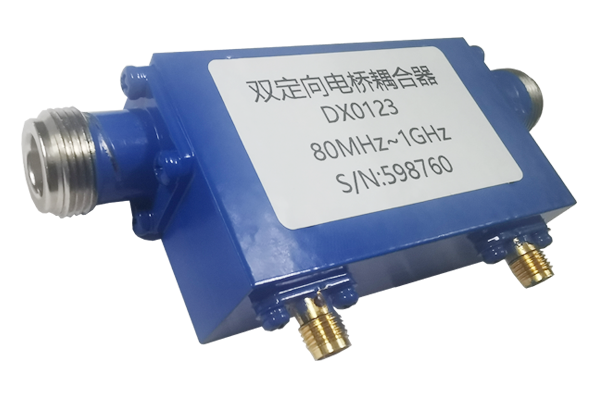


How to Connect an RF Coupler
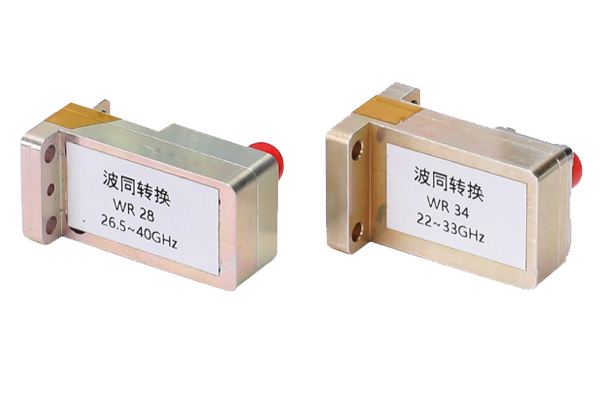
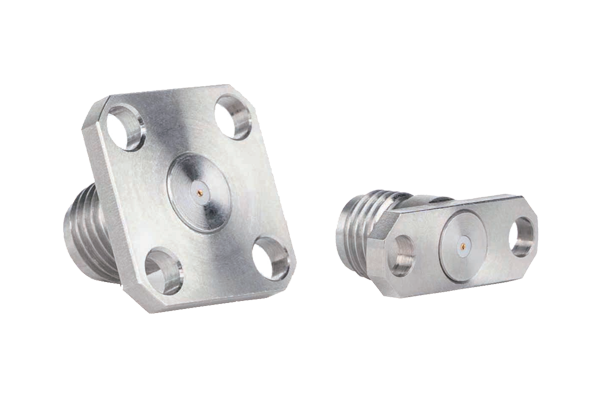
Confirm Connection Port Compatibility
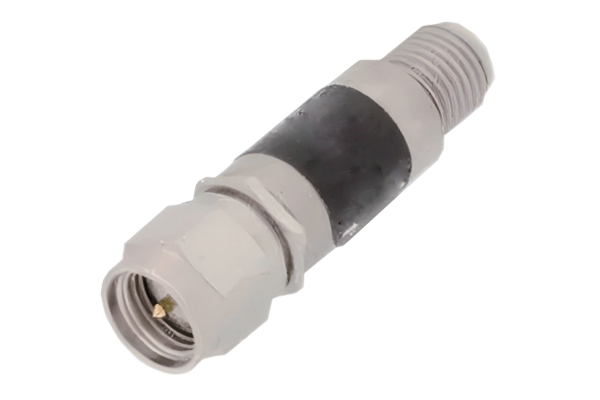
- Identify input/output ports of the RF coupler to avoid confusion
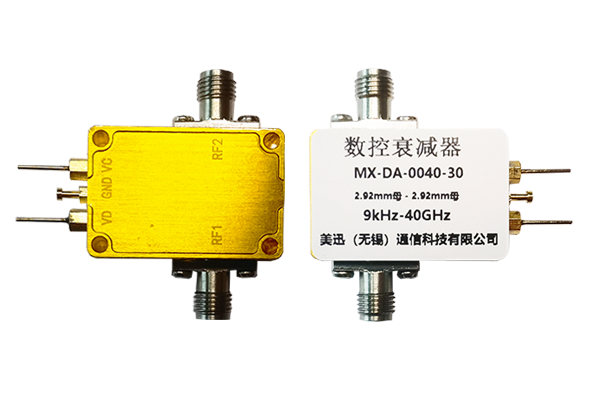
- Verify coupler port impedance matches connected RF device
- Ensure impedance matches transmitter, receiver, or test instrument
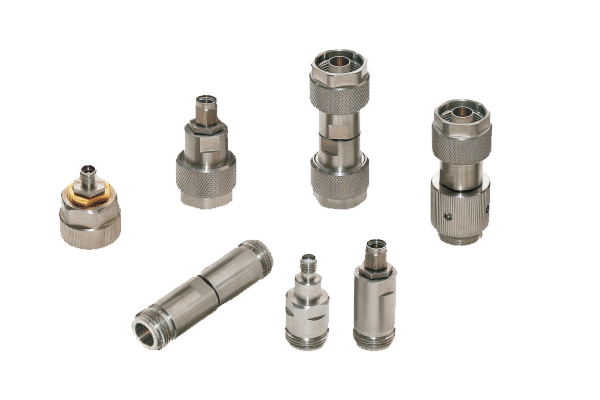
- Check interface type compatibility between devices
- Different interfaces require appropriate adapters for secure connection
Mismatched impedance can reduce signal efficiency or damage equipment
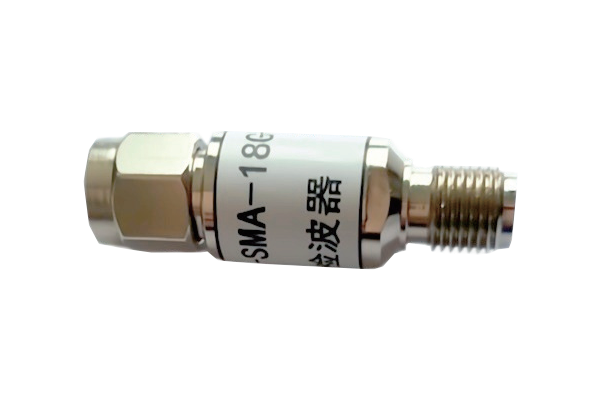
Preparatory Work Before Connection
- Turn off power to all RF devices before connecting
- Clean coupler ports and cable connectors of dust and oxides
- Use dedicated cleaner with soft cloth for optimal contact
- Inspect cables for damage, aging, or wear
- Organize cable routing to avoid tangling during connection
Live connections risk damage from instantaneous current
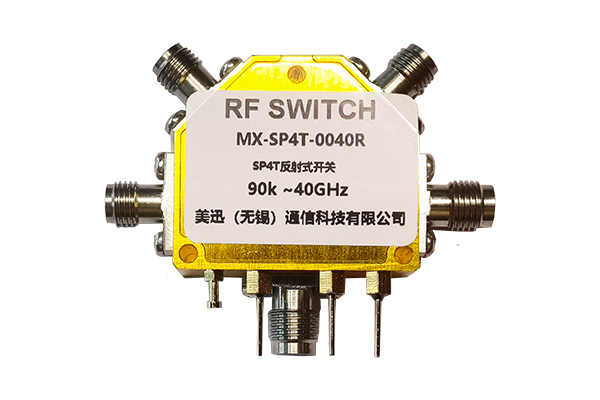
Standardize Physical Connection Procedures
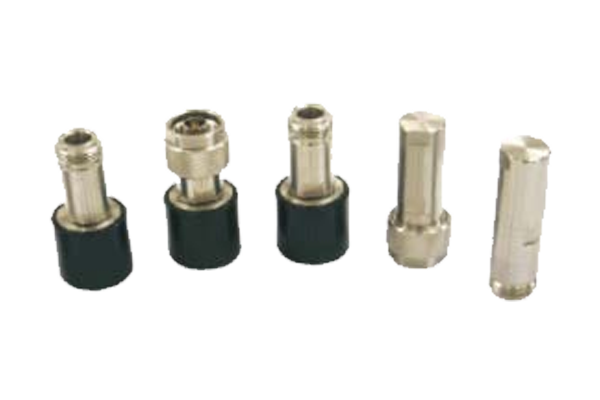
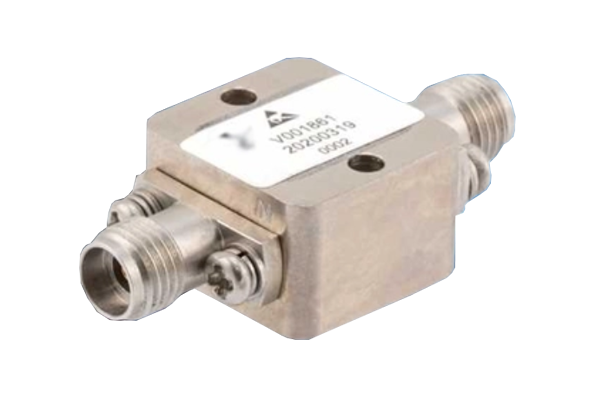
- Align RF cable with corresponding port on the coupler
- Slowly rotate connector until secure - avoid overtightening
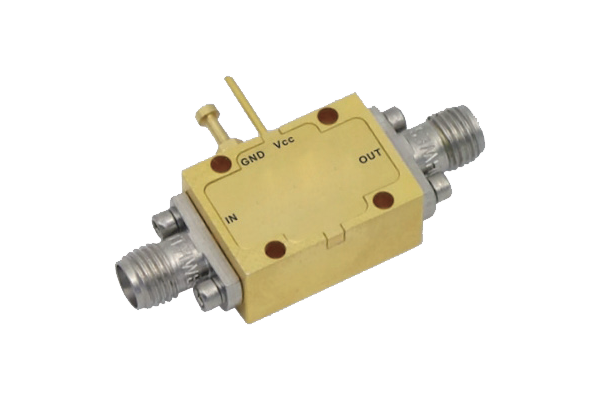
- Connect coupler to transmitter, receiver, or test instrument
- Ensure coupling port connects to appropriate detection device
- Allow cables to bend naturally to prevent internal wire damage
Overtightening damages threads; sharp bends affect signal quality
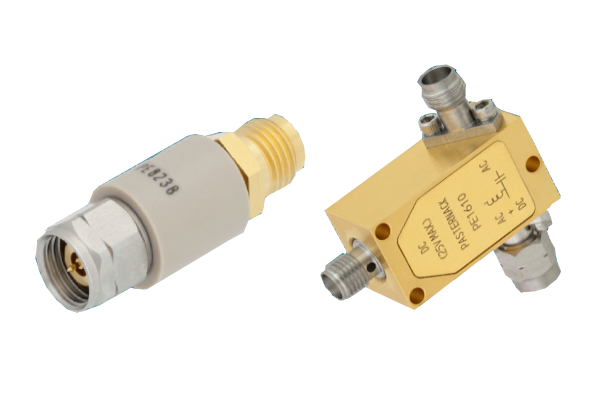
Post-Connection Inspection & Debugging
- Recheck all interface connections for secure fit
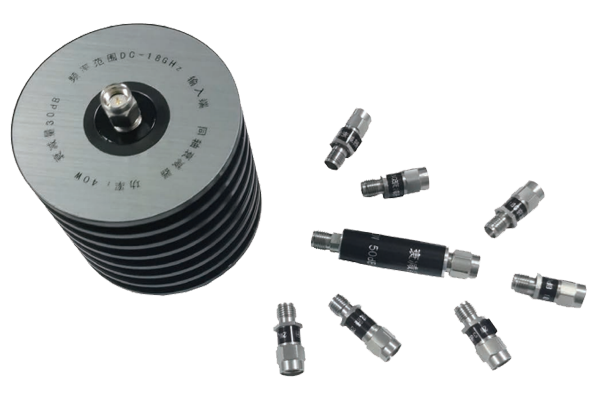
- Power on devices and use RF test instrument for signal testing
- Monitor signal strength and attenuation parameters
- If issues arise, power off and recheck connections
- Observe coupler for abnormal heat or noise
Always power off before rechecking connections to prevent hazards