

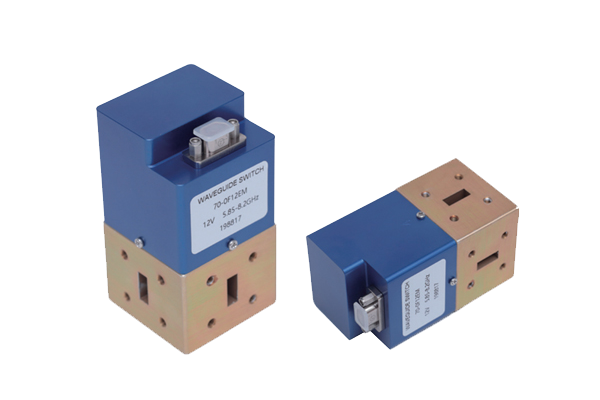


How to align flanges when installing waveguide switches
Waveguide Flange Alignment
Critical steps for proper installation and alignment of waveguide switch flanges
Importance of Alignment
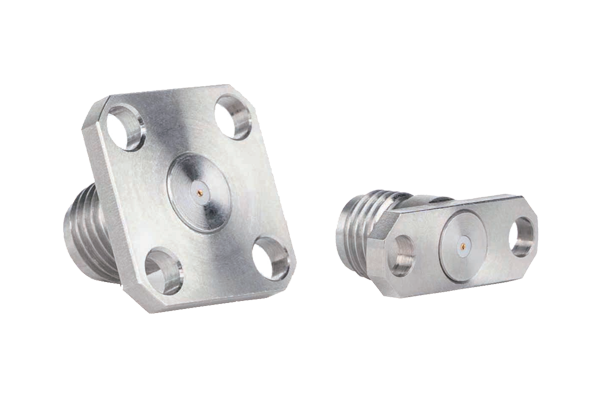
Aligning flanges correctly during waveguide switch installation is critical to maintaining signal integrity, minimizing insertion loss, and ensuring reliable long-term performance.
Poor alignment can create gaps or misalignment between waveguide sections, leading to signal leakage, increased interference, or even physical damage to the switch or connected components.
Process Overview
The process requires careful preparation, proper tool use, and methodical adjustment to achieve precise alignment.
Following the correct alignment procedure ensures optimal signal transmission and extends the lifespan of the waveguide switch and connected components.
Key Alignment Steps
- Surface Cleaning: Thoroughly clean flange surfaces to remove dust, debris, oxidation, grease, or residue that could disrupt contact
- Alignment Aids: Use reference marks, alignment pins, or straightedges to establish initial positioning
- Fine Adjustments: Gently manipulate components to eliminate gaps or tilt, checking for light leakage or using feeler gauges
- Secure Fastening: Use diagonal tightening sequence to ensure even pressure across flange faces
- Performance Verification: Test insertion loss and VSWR to confirm proper alignment after installation
Detailed Alignment Process
Surface Cleaning
Clean flange surfaces with a lint-free cloth and compatible cleaning solution. Ensure surfaces are completely dry before proceeding to prevent corrosion.
Initial Alignment
Use alignment marks or pins to establish initial positioning. Check that flange edges are flush and parallel using straightedges if needed.
Fine Adjustment
Check for light leakage around the flange perimeter or use feeler gauges to measure gaps. Adjust until consistent contact is achieved across the entire surface.
Secure Fastening
Use a diagonal tightening sequence for all fasteners. Gradually tighten in a crisscross pattern to ensure even pressure and prevent distortion.
Testing & Verification
Measure insertion loss and VSWR with test equipment. If parameters are off, recheck alignment and repeat the tightening process.